by Pam Liberatore

This is my little diy on a 3D crabitat background. Please remember this is how I did mine and in no way the only way or the correct way. I really don’t know if there is a right or wrong way. I think it comes down to what works for you and good planning of the whole process. I used the instructions at NEherp and studied them over and over again.
Here is the link: Custom Backgrounds
That being said let’s get started.
Step 1:
First, you need a tank, mine is a 40 gallon breeder tank. Now I only did one side. I didn’t think doing the whole back would work for me. I was worried that there would not be enough heat just from two UTH being placed on the sides. I chose the left side of the tank because of the angle it will be placed in the living room.
I cleaned all the glass with vinegar water. First you apply your silicone, I used black silicone which is nice if are going to use white foam, you will not see the white foam from the outside.
The silicone should be applied thin about ⅛ of an inch. This helps with the drying time (24 hours). I used a Spackle spatula and some areas I used a gift card to spread it thin. I applied it in a back and forth motion and then quickly thinned it out with the spatula and or gift card. This should be done quickly because the silicone will tack up quickly especially if you are working outside on a warm day like I did. (I also suggest working outside because the silicone does have a strong odor to it.) Now I did not apply silicone completely to the bottom. I stopped about 4 inches from the bottom of the tank. I plan to slope my substrate from 8 inches down to 4 inches near the background. Don’t worry if you get silicone on places that are unwanted, you can easily be scraped off with a razor blade.
Silicone applied to glass
Step 2:
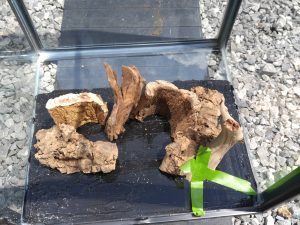
Once the silicone was cured I started to layout my ghost wood and cork bark on the silicone.
I did clean all of my cork bark and ghost wood with salt water and baked them at 170 degrees in the oven. I wanted to make sure my items were clean of any little animals and other things. For me I just prefer to do this. Also this is a good time to cut your pieces to get the look and fit you want.
Layout of ghost wood and cork bark.
Once I had my pieces placed the way I wanted them I applied silicone to the bottom of each piece. Now you do not have to do this extra step. You can simply start applying foam. I did this because I wanted to make sure each piece was secured before foaming. First reason is some pieces might be heavy and the silicone is just extra insurance. I didn’t feel foam would be enough. Second, I found by siliconing first the pieces won’t move around when foaming. The foam has some force behind it coming out of the can. Also please note the green painter’s tape. This piece would not stand on it’s own while the silicone cured so this held it in position until the silicone cured. This extra step of siliconing my pieces took another 24 hours before I could move on. But for me I found it worth the wait.
Step 3:
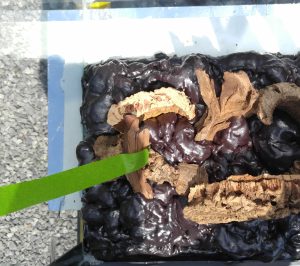
My next step was applying the foam. I used Great Stuff for ponds. It is blackish/brown in color. I found it online at Home Depot and had it delivered to my local store. I bought 2 cans, I only used one for the side wall. And I did use the whole can.
Keep in mind when applying the foam. first it comes out like a rocket and second it expands. So when I applied the foam near the sides and top I did not apply it against the sides or top, but left about inch because it will expand. Don’t worry how the foam looks after it cures, the fun part is sculpting the foam.
Foam applied

Step 4:
I let my foam cure for 24 hours. I wanted to make sure the foam was cured all the way thru. You don’t want to start cutting and find it is still wet in the middle.
It is suggested on the can to use some sort of serrated knife to cut and sculpt the foam. I found using plastic serrated knives worked the best for me.
This can be time consuming but also I found it fun. I read somewhere to cut the shiny top part of the foam of so the silicone will stick better, so I did do that. I used my shop vac to clean up any foam I cut away.
For this part all I can say have fun with it and be prepared to have sore and tired hands.
Sculpting the foam
Step 5:
After I was pleased with my foam sculpting, I started to get ready to lay the silicone down on the foam and apply the eco earth.
Now it is important to have your eco earth ready to go. I bought the large bag of loose eco earth. I poured about half into a 5 gallon bucket. Next get your latex gloves on, you will need them and if you are like me you will go thru many pairs. Get your silicone ready.
It is very important to remember that you need to work fast at this part of the project. Because the silicone will start getting tacky in about 7 to 10 minutes and if that happens the eco earth will not stick. And if you worked outside on very hot day like I did it will get tacky even faster. So plan your starting point.
Now before I started I looked over the whole background and decided to start at the bottom of the background first since it is the hardest to reach. I only applied silicone in small sections and I used my hand to spread the silicone around. (of course with latex gloves on them and mind you I said hand, keep the other one clean to throw the eco earth on with.) I used a plastic cup and piled it on heavy and gently pressed it down. I tried to do the nook and crannies first at the bottom of the background.
After I had the eco earth all applied I waited another 24 hours, maybe even more.
Next I gently sat the tank right side up and let the eco earth fall to the bottom of the tank so I could scoop it up with a clean dustpan. Only a buck at the dollar store and a handy tool to have.
I used a soft utility brush to brush away the eco earth in the cork bark and other places to find any spots I missed. And trust me I missed spots. So back to the silicone, eco earth and the latex gloves. This process can take a few tries but it is worth the work and wait.
Now you are probably asking why didn’t you use the shop vac. Well I wanted to be able to reuse my eco earth to reapply in spots that needed it. Using a shop vac would not allow the eco earth to stay clean. Plus I didn’t want to end up sucking off too much eco earth from the background.
Using the brush was time consuming but beneficial.
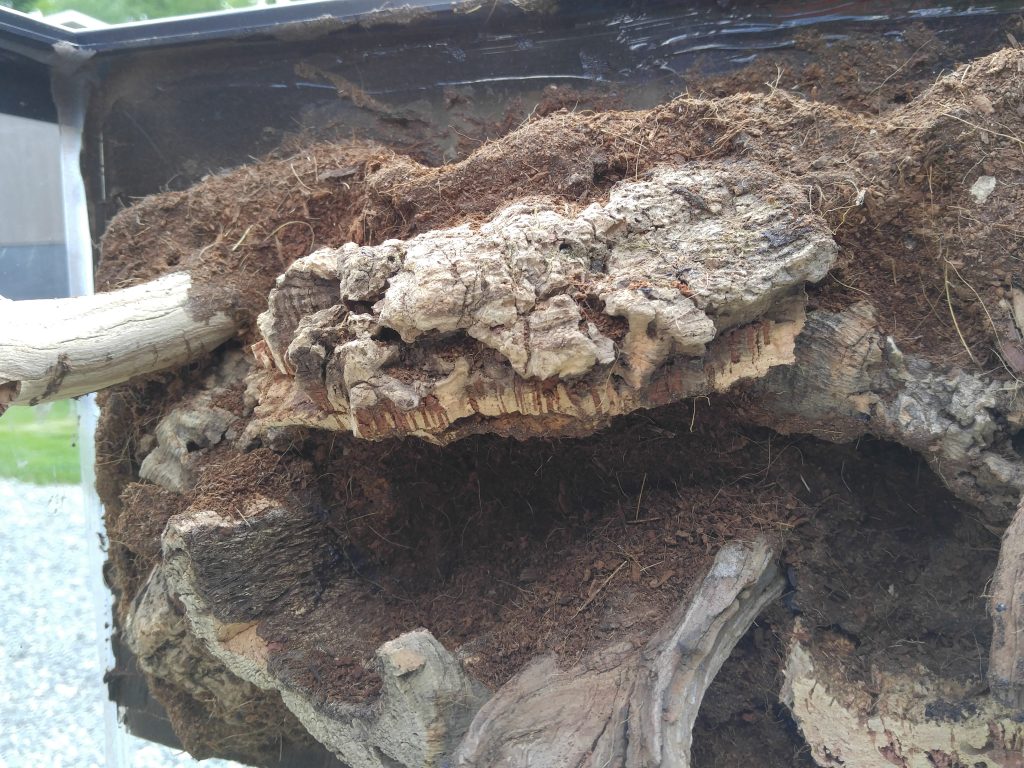
Eco earth applied


It doesn’t look like much now but it will in the next few pictures. The photographer was crooked not the background LOL!! I said this before, doesn’t it look like an owl. If I wanted that look it would of never happen.


Now that the background is finished I can trim any extra silicone from the glass that I see fit.
This was a fun but involved project. It took me a lot of time. I did not want to rush it and I think it paid off in the long run.
As I said in the beginning this is how I went about it, in no way is this the only or correct way. I think this kind of project is more of a learning process. Also it brings out one’s creative side.
I hope this information helps anyone who reads this. I know it is lengthy, but I wanted to get as much information out there about such a project. This is something that takes time so don’t rush into it or rush the process. I hope you have as much fun as I did.
Time: Three Weekends
Materials List:
- Great Stuff Pond & Stone 2 cans
- 2 Tubes of ASI Black Silcone
- Putty Knifes
- Ghost Wood Pieces—Small
- Caulk Gun
- Cork Flats
- Small Cork Tubes
- Misc. Plastic Knives for carving foam
Buy a Vivarium Custom Background Kit based on the size of crabitat you have. NE Herp makes this so easy!!


